Een snel te maken kaartje. Makkelijk als je er veel nodig hebt. De boompjes zaten in een pakketje dat ik gekocht heb, maar ik heb ook een versie met zelf uitgeknipte boompjes (niet op de foto). De stempel is van Artemio.
A simple quick card. Easy when you need lots of cards. The trees where in a pack I bought, but I have a card with trees that I cut myself (not in the picture). The stamp is from Artemio.
Op onderstaande kaartjes heb ik weer stempels van Marianne Design (Eline's Snow Friends) gebruikt. Ze werden ingekleurd met de ZIG Art & Graphic Twin (stempel)stiften.
On the cards below I used stamps from Marianne Design (Eline's Snow Friends) and I colored the images with ZIG Art & Graphic Twin markers.
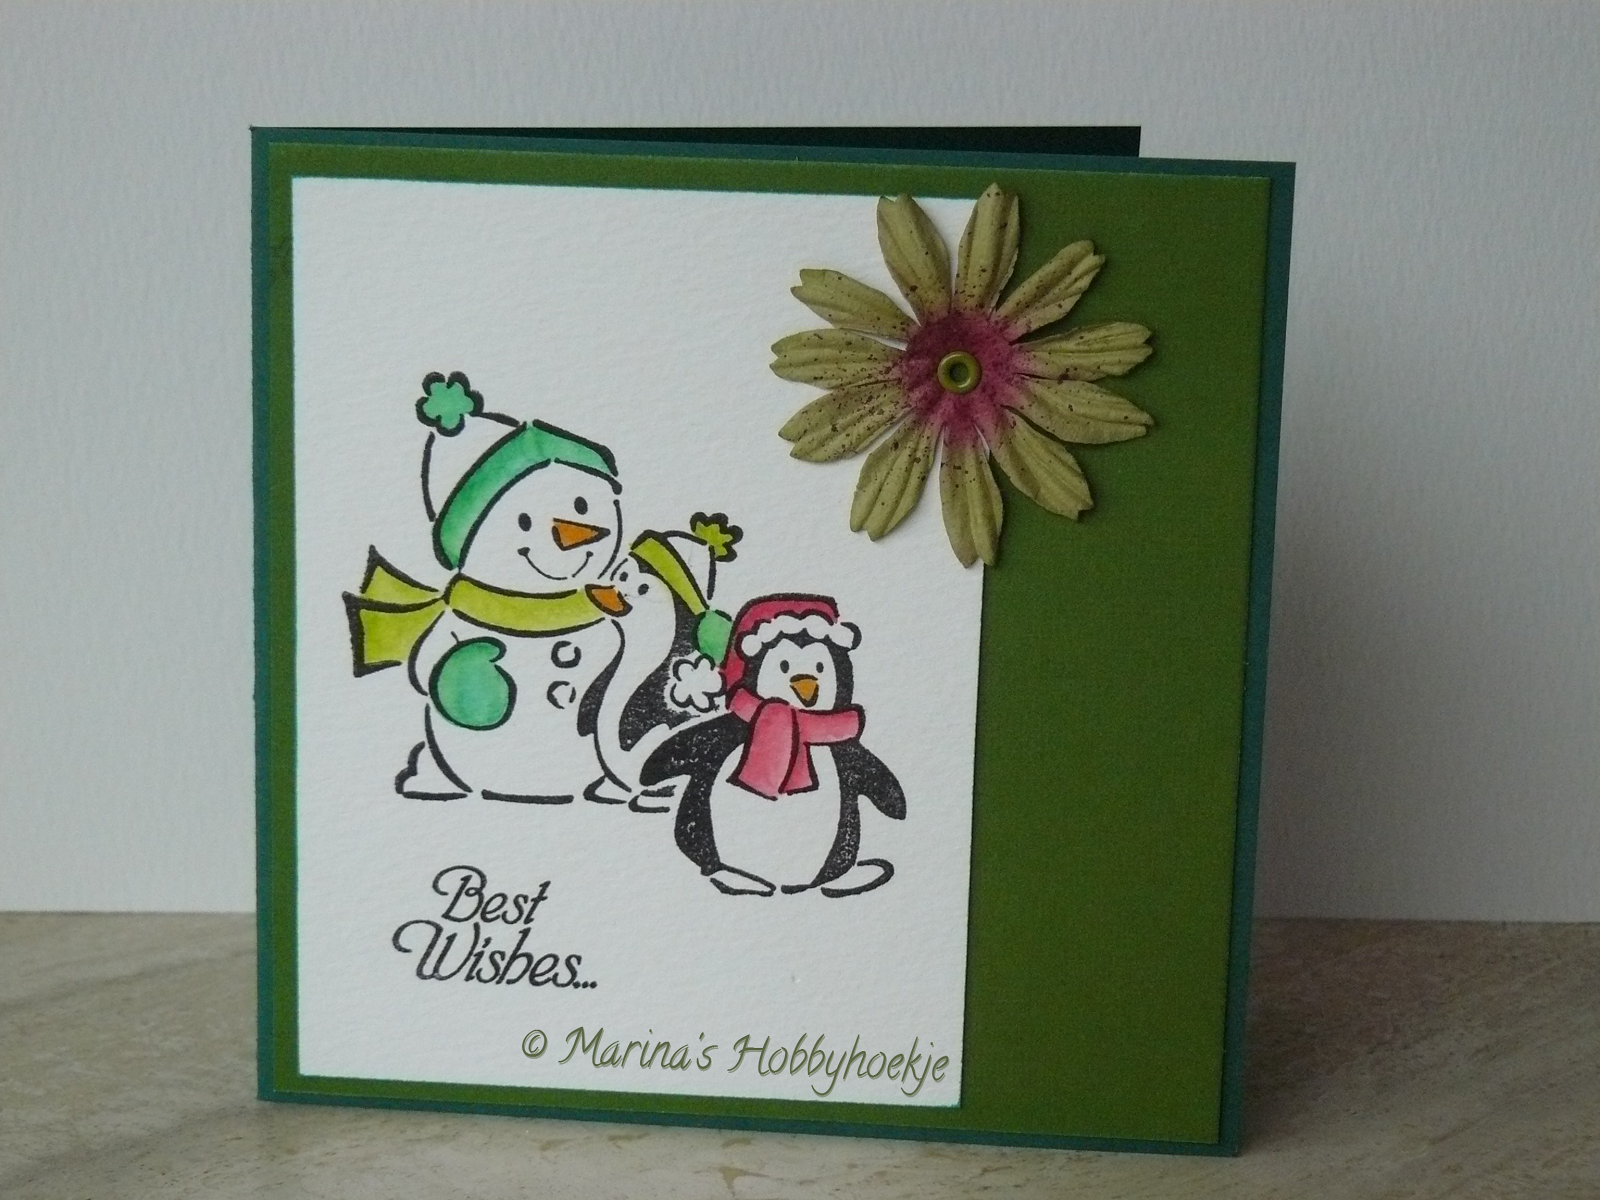
Ik gebruikte een mask om 2 stempels te combineren op dit kaartje. De tekststempel die ik hier gebruikte is van Studio Light. De bloem is van Prima.
I used a mask to combine 2 stamps on this card. The textstamp I used here is from Studio Light and the flower is from Prima.
Prettige Feestdagen is gestempeld met een stempel van Victoria. Het designpapier is Daisy d's.
Prettige Feestdagen (= Happy Holidays) is stamped with a stamp from Victoria. The designpaper is Daisy d's.
Gelukkig nieuwjaar iedereen!
Hopelijk wordt het weer een mooi, gezond en creatief jaar...
Happy New Year everybody!
I hope it will become a nice, healthy and creative year...
Ik probeer meestal samen met de kindjes een zelf geknutseld cadeautje te maken om met hun verjaardag uit te delen op school. In de kleuterklas was het symbooltje van mijn dochter een slak. Ideaal om daar iets mee te doen als uitdeelcadeautje.
I try to make a home made gift for the kids birthday at school. In kindergarten my daughters symbol was a snail. I used that to make a gift for all the children in her class.
We knippen repen papier, versieren ze met stempels, kleurpotloden, ... en maken er daarna rondjes van.
We cut strips of paper, decorate them with stamps, color pencils, ... and then we make circles.
Veel rondjes...
Lots of circles...
Als lijfje gebruiken we een reuzekrijtje. Ik voeg nog een pijperager toe om de voelsprieten mee te maken en dan plakken we 3 rondjes in elkaar voor het huisje. Als we dat op ons lijfje plakken is onze slak klaar!
For the body we use a jumbo crayon. I add a pipe cleaner to make the snails feelers and then we tape 3 circles together to make the shell. There you have it, our snail is ready!
Zoals ik al zei, ik maakte nog kaarten met stickers.
Like I said, I made more cards with stickers.
Deze stickers heb ik gekocht in wit en zilver en dan beide gecombineerd tot deze kaart. Heel makkelijk en snel klaar!
I bought the stickers in white and silver, I then combined them on a card. Easy and ready in no time!
Deze twee kaartjes, zijn alweer naar een idee van het setje dat ik kocht op de hobbybeurs in 2007 (www.kaartenpakket.nl).
These cards were made with the set I bought at the hobbyfair in 2007 (www.kaartenpakket.nl).